
Congratulations on your new job as a kindergarten teacher!
Now what? It's time to set up your classroom!
Follow these 6 simple steps to get started and turn your classroom from this...
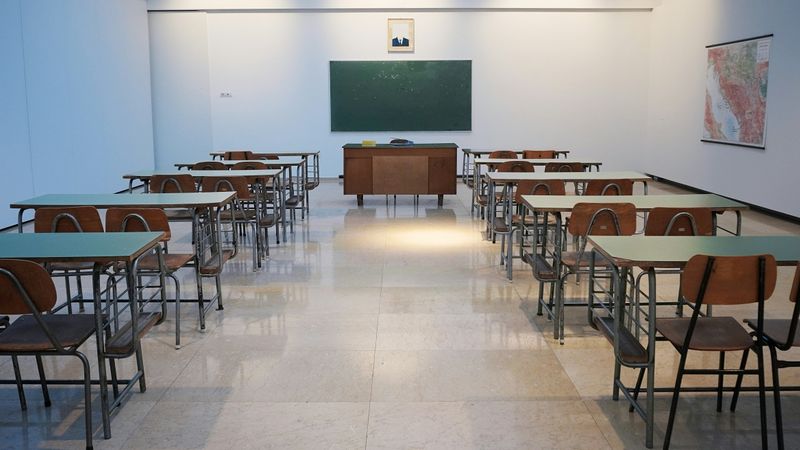 Photo by Ivan Aleksic on Unsplash
...into this!
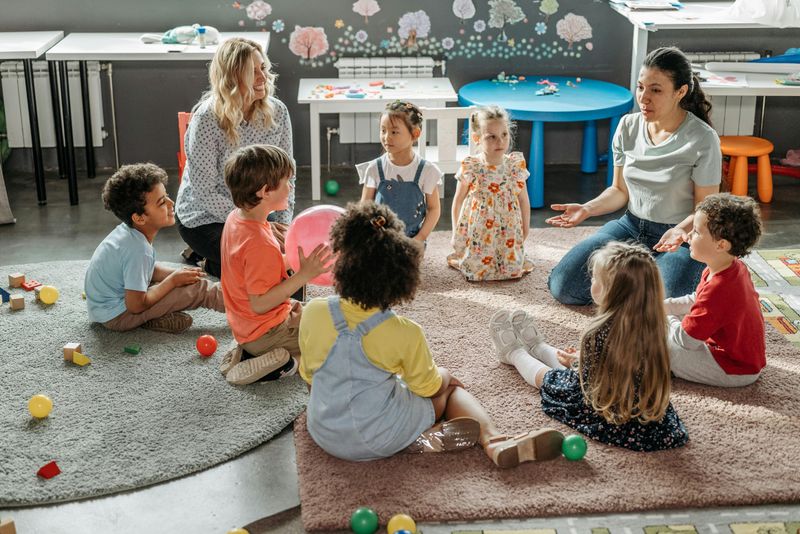 Image courtesy of Pavel Danilyuk via Pexels
1. Know the Requirements and Restrictions

Stop! Don't waste your time or money.
In my first year as a teacher, I excitedly created ceiling decorations I saw on Pinterest and attached some decor to the walls. I was unaware that fire safety rules forbade ceiling decorations or that school policy only allowed teacher tape on walls. I wasted valuable time and money on projects I couldn't use and redoing what was already done.
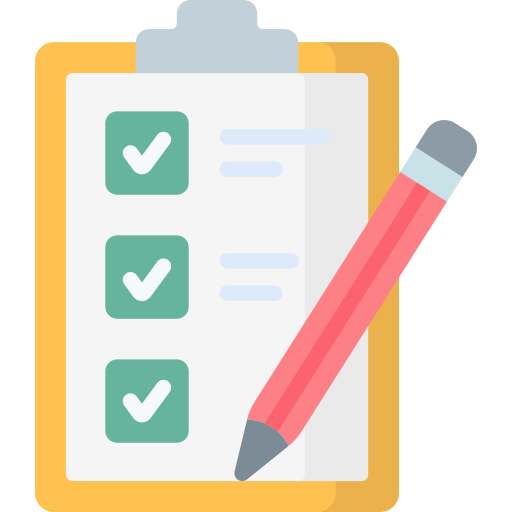
Use the resources at your school.
Schools follow rules and guidelines of multiple agencies. Your school's administration has contacts within all the organizations associated with your school and have been through the process numerous times. Use this information to create a to-do list. When you have a clear picture of what you need to do, you can start to plan.
Quiz
You just got hired as a kindergarten teacher and you start in two weeks. Your room is completely empty. What do you do first?
2. Map It Out!
Making a map of your room's layout helps you see the big picture.
First add the objects that can't move (smart boards, fire extinguishers, etc.).
Make sure exits aren't blocked.
For convenience, any objects that are used together should be placed together.
Leave clear pathways. You don't want your room to feel cluttered or like a maze.
Arrange furniture to create distinct areas.
Add in everything. You can remove objects you don't need later.
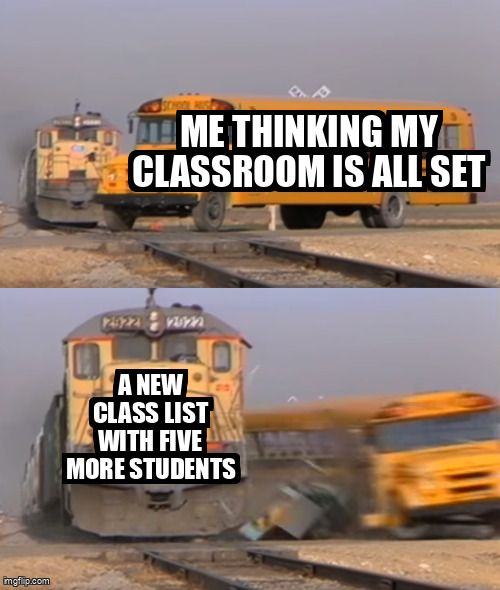
Think of your students first and last.
The class list you got? It was a lie. Families move, enroll late, or switch classrooms. My class list has never been accurate. Add extra desks and chairs to your plan.
With your map created, you can think more about what to add to the distinct areas within your room.
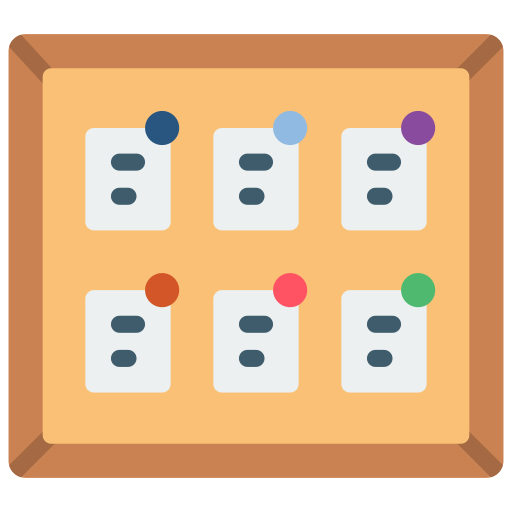
3. Design Your Centers
Creating distinct areas in the classroom allows for easier transitions and more engagement with the centers you create.
All centers should include:
A center sign
Clearly defined boundaries
Labels with pictures and easy-to-read print
Storage for materials
Center rotation cards
Paper and pencils
Temporary materials to make sure the centers remain engaging
The video below does an excellent job of showing how to set up a pre-k or kindergarten classroom:
The sites Kindergarten Connection and Kindergarten Cafe have very thorough lists of what supplies you may want for your room that you may wish to look at for ideas.
Other Helpful Areas
Calm Down Area: The one essential area to include in your area is a Calm Down Area. It's an important part of your classroom behavior management. A good example is discussed by the site Early Impact Learning.
Exercise Corner: Some students aren't "calmed" in a Calm Down Area. I offer the alternative of an Exercise Corner. It has pictures of different exercises with numbers and yoga poses. It also has posters with breathing exercises and books about movement and exercise.
4. Put Up Wall Decor
Wall decor in the classroom serves as reminders for you and/or the students in your classroom.
Rules and Routines
This is added first. The rest can be introduced or changed throughout the year. They set expectations and help create an environment that supports student learning. Include visual aids and make the print large and simple. It's useless if your students can't "read" it.
Examples:
Classroom rules
Schedule
Handwashing Steps

Knowledge
These are visual reminders of what the students have learned and are learning. Some will stay up all year. Others are included or changed as new skills are introduced.
Examples:
Sight words
Alphabet posters

Accomplishments
This reminds the students of what they learned, shows that you are proud of what they did — and that they should also be proud! This type is regularly changed throughout the year. It often overlaps with the knowledge section as the class creates graphs and charts together.
Bulletin Boards
Use large, simple print.
Have each student represented in at least one classroom display.
Make sure their name is visible.
Consider using a fabric background you can keep up instead of changing it each time the bulletin board is changed.
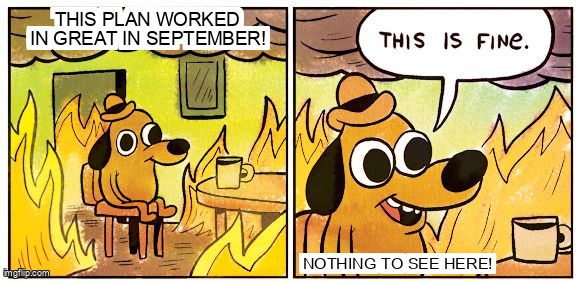
5. Be Flexible
Your design won't be perfect, and it doesn't have to be.
The best instruction is reflective. Be open and willing to make changes in the first few weeks as you see what works for you and your students.
Change your setup if it stops working later. What your classroom needs in September won't be what it needs in June. The worst thing you can do is stick with something that isn't working.
6. Use Free Resources Available

School Resources
Your school wants you to be successful. Don't create more work for yourself. Ask what resources the school provides before you spend time doing it yourself.

Colleagues
You have access to the greatest resource of all — other teachers at your school are veterans at setting up classrooms and what works for your school!
All those ideas you found online and want to try? Teachers at your school have used them or a variation and can tell you how it worked. Reach out, look at their rooms, and ask their advice.
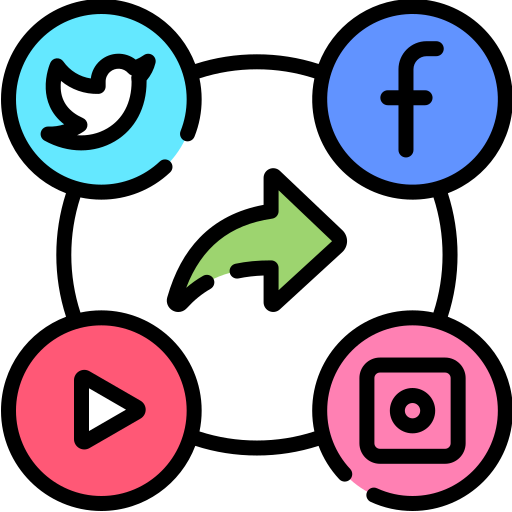
Social Media
Teachers are expert collaborators. Social media is so accessible and there are some truly great online sources.

Take Action
It's time to show off what you learned and create your amazing classroom! Remember, you'll add to and change your classroom throughout the entire year. This is a marathon, not a sprint!
Your feedback matters to us.
This Byte helped me better understand the topic.