
Whether your 8th grade student is learning biology, chemistry, physics, or the engineering process, experiments are great ways to get hands-on experience and feel excited about science.

According to SmartLab, performing experiments one of the best ways for science students to apply what they learn to the real world. If you're teaching science for 8th graders, try out these experiments to inspire curiosity in your students and help them see science in action!
#1: Extract DNA from an onion!
An important part of the curriculum when teaching science for 8th graders is the structure of DNA. Students need to understand it because DNA is the genetic code for all life on Earth.
You can amaze everyone by extracting an onion's DNA with this experiment! Onions are ideal for this activity because they have a lot of DNA visible to the naked eye, and it's easy to break down the onion's cells to release the DNA.
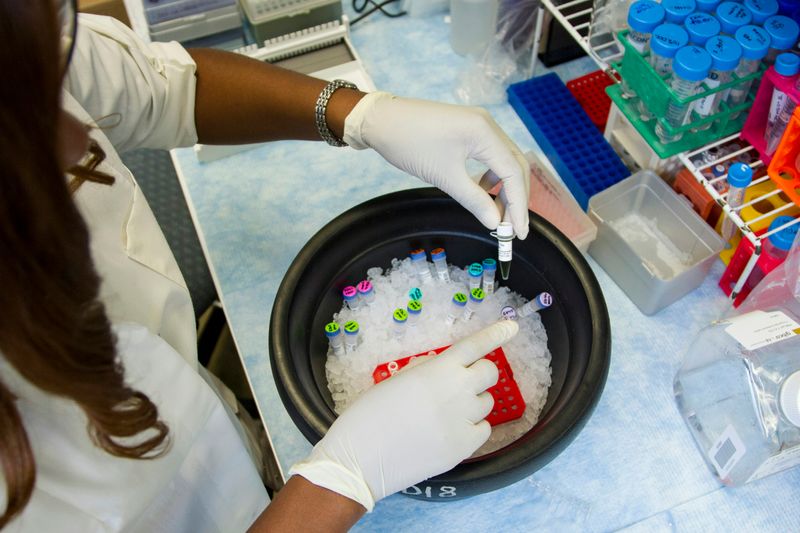 Photo by National Cancer Institute on Unsplash
What's the science behind it?
Deoxyribonucleic acid (DNA) is the genetic code that carries the biological information of an organism. It's tightly coiled up by histone proteins (proteins that support the structure and function of chromosomes).
In the experiment, you'll use a detergent solution to release the DNA from the cell's nucleus and an enzyme solution to release the DNA from the histone protein.
How to extract DNA from an onion
Use this tutorial by Northern Arizona University to see an onion's DNA with the naked eye!
Materials:
piece of onion (approx 10 grams)
2 large test tubes
mortar & pestle
graduated cylinder (10 or 50 ml)
500 ml beaker or mason jar
bamboo kabob skewer
nylon netting, or small dip net
funnel
small kitchen knife or single-edge razor
cold ethanol
ice bath
detergent solution (1 part table salt + 1 part shampoo + 8 parts water)
Enzyme solution (1 part meat tenderizer powder + 19 parts water)
 Please be careful when handling sharp objects!
Steps:
Chop the onion into tiny cubes.
Use the mortar and pestle to grind the onion pieces. This will break down the cell walls of the onion.
Add 10 ml of detergent solution and grind again. This will break down the lipid bilayers of the nuclear membrane and release DNA.
Use the nylon netting to filter the mixture into a large test tube. Be careful — harsh swirling or shaking can break the fragile DNA strands!
Add about 3-4 ml of enzyme solution to the test tube and let it rest in a beaker of hot water for 10 minutes. The enzyme will break down the histone protein and release the DNA into strands, andthe heat will speed up the process.
Place your test tube in the ice bath to chill for several minutes. Carefully pour 10 ml of ice-cold ethanol into the test tube to form a separate layer on top. Strands of gel should begin forming. That is your DNA!
Use the bamboo skewer to gently pick up the DNA.
Quiz
Emma conducted this experiment but noticed that the DNA extracted wasn't in a strand. The DNA was broken into tiny pieces, and she was unable to pick them up with her bamboo skewer. What mistake could have caused this?
#2: Make elephant toothpaste!
Want to conduct a simple chemical reaction? Create foaming "elephant toothpaste" that can compete with a baking soda-and-vinegar volcano! This experiment is important because it will help your 8th graders understand that atoms are the building blocks of life and can rearrange themselves to create different reactions!
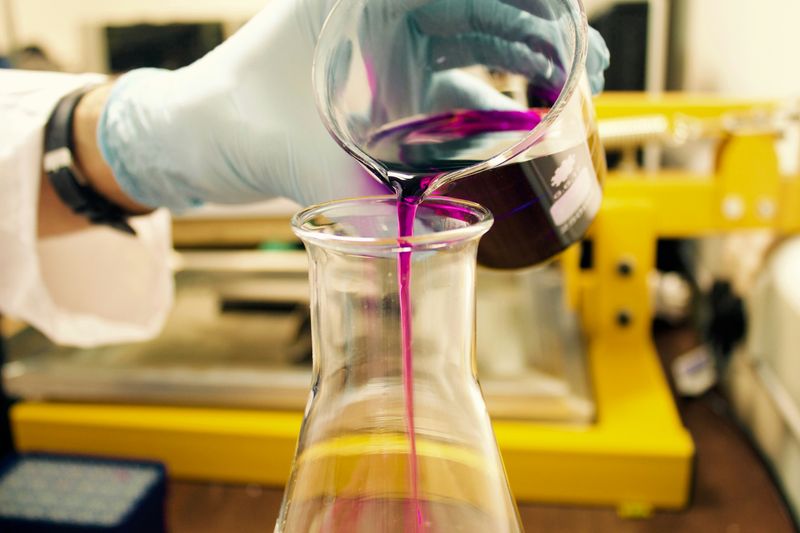 Photo by Louis Reed on Unsplash
What's the science behind it?
Mixing hydrogen peroxide with yeast will break down into water and oxygen. The dish soap will trap oxygen gas bubbles trying to escape, creating foam. The reaction will continue until there is no more hydrogen peroxide or yeast left.
How to create elephant toothpaste
Follow these steps by ScienceBuddies to create a chemical reaction the size of an elephant!
Materials:
empty plastic bottle
dry yeast
warm water
dish soap
(optional) food coloring
3% hydrogen peroxide
measuring cups and spoons
large tub or tray to catch the foam
The experiment WILL be messy, so conduct it outdoors!
Steps:
Pour 1/2 cup of hydrogen peroxide into the bottle.
Squeeze a lot of dish soap into the bottle. Swirl the bottle gently to mix.
Optional: Add a few drops of food coloring. Swirl the bottle gently to mix.
In a measuring cup, combine 1 tablespoon of yeast and 3 tablespoons of warm water. Mix for 30 seconds.
Pour the yeast mixture into the bottle, and quickly step back. Watch the chemical reaction create "toothpaste" fit for an elephant!
#3: Create a homemade battery!
Take your science experiments to the next level by creating a battery that can conduct electricity and light up LED lights! A huge part of the 8th grade science curriculum is understanding how energy transfers from a power source (battery) to a device.
This experiment is great for inspiring your 8th graders to build electric circuits and see them in action!
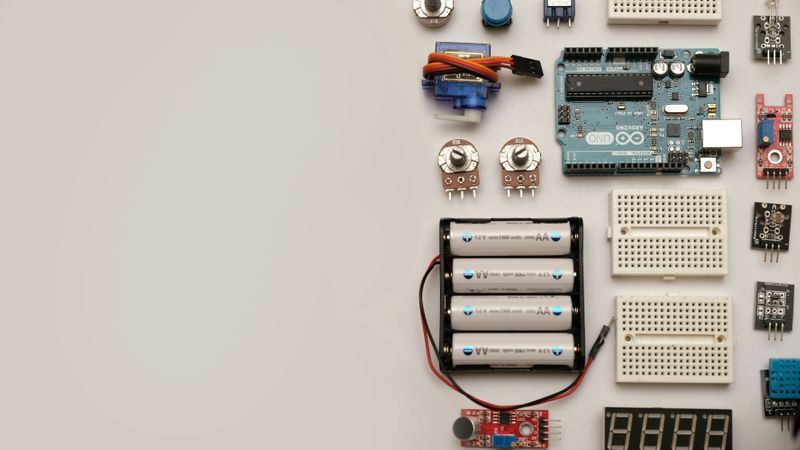 Photo by Robin Glauser on Unsplash
What's the science behind it?
Electrons (negatively-charged particles) travel along a wire via electrodes (points where electricity flows into or out of a battery or device). The electrons travel from the negative electrode (called the anode) to the positive electrode (called the cathode), creating an electric current.
An electrolyte (a liquid that conducts electric currents) goes between an anode and cathode to charge them positively (for the cathode) and negatively (for the anode). A battery is structured so that electrons can flow from the anode to the cathode, using a wire to transfer that energy to your device!
How to create a battery and light up LED lights
Follow this 123 Homeschool 4 Me guide to create your own battery!
Materials:
5 pennies
1 foot of aluminum foil
1 sheet of a paper towel
vinegar
duct tape
LED lights
2 alligator clips (to easily connect the battery to a circuit)
Be careful not to cut yourself with the aluminum foil!
Steps:
Cut out a 3-inch square piece of aluminum foil. Fold it into a square about 1 inch on each side. It should be a little bigger than a penny. The aluminum foil will be the anode of the battery.
Cut a paper towel into a 3-inch square and fold it 1 inch on each side. This square should match the aluminum foil square.
Cut out a piece of duct tape that is the same width as the paper towel.
Layer the penny, paper towel square, and aluminum foil squares on top of the duct tape, letting the penny stick out from the duct tape. Your penny will be the cathode of the battery.
Align the paper towel with the duct tape on the same side as the penny. The aluminum foil should hang over the other end of the duct tape and not touch the penny.
Fold over the duct tape to hold the 3 layers together to make your DIY Battery.
Add a few drops of vinegar to the paper towel. The vinegar will act as the electrolyte. Your battery is complete!
Repeat steps 1-7 to create four more batteries. You'll need a total of five batteries to light up the LED lights.
Line up your batteries and attach the penny of one battery to the aluminum foil of the next battery using duct tape.
Attach the ends of your battery series to the LED lights using the alligator clips. Your LED lights should illuminate!
Take Action
These are only some of the experiments your 8th graders can do, so have fun learning and experimenting with other science topics. Whether your students are preparing for a science fair or want to get hands-on with their learning, these experiments are sure to excite them as they get to see science in action!
Your feedback matters to us.
This Byte helped me better understand the topic.